The Archives of Phi Gamma Delta
Archives Home Founders Traditions Today in History Historic Sites Leaders Exhibits/References Contact
______________________________________________________________________
The Crafting of Fraternity Badges
The following information is based on a unsigned article in The Phi Gamma Delta magazine, circa 1980. The color photos and much text come courtesy of Eugene D. "Buddy" Coté (Maine 1981) of the Fraternal Division of Herff Jones, which is the descendant of the famous L. G. Balfour Company, and as such has been the sole official jeweler of Phi Gamma Delta since Balfour was founded in 1913.
Incidentally, Buddy is a former Headquarters staff member, Archon President, and Director of the North American Interfraternal Foundation (NIF).
Back to Historic Badges page
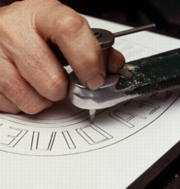 |
The first step in the making of a fraternity pin is the cutting of a steel die. Here, a craftsman makes a template for use in the cutting. |
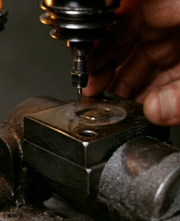 |
This machine cuts the die. The workman traces a stylus along the template (above). His moving the stylus translates to the bit, but on a smaller scale.
|
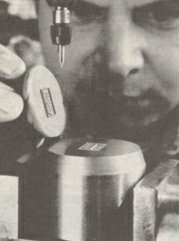 |
The die is pressed on sheets of gold, brass or sterling, creating a pin with some but not all of its detail shaped. Many Herff Jones dies made for fraternity pins date back a decade or as much as half a century, but most were originally made by the renowned L. G. Balfour Company of Attleboro, Massachusetts.
|
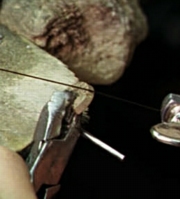 |
With a coping saw, edges of the fraternity pins are cut, or "fishtailed," to prepare a crown setting for gems.
|
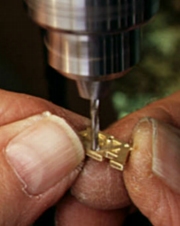 |
A craftsman drills a component part of the badge to prepare a "bead", or rivet, for the assembly of a second part of the badge or mounting.
|
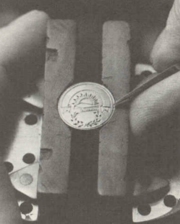 |
One of the slowest and most painstaking processes is called hand engraving or "bright cutting," by which a craftsman with an incredibly sure touch cuts tiny patterns in the surface of the pin to highlight and brighten the gold.
|
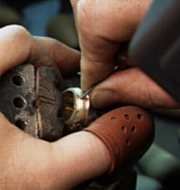 |
More bright cutting, but this photo depicts fine lines being incised on the palm side of a ring.
|
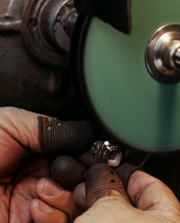 |
Polishing the gold with a "cutdown" wheel removes minor imperfections, and prepares the product for a later final polish with a softer "buffing" wheel.
|
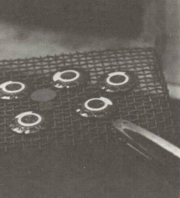 |
The ancient process known as "cloisinee" is used to enamel the pins. Finely ground colored glass is applied by tweezers to a pin, after which it goes into the kiln where it is fired to melt and smooth the glass. The edges are then filed and the pin is baked again until the surface is flat, smooth, and glossy.
|
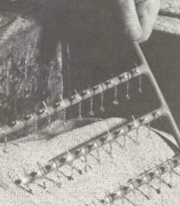 |
Pins or other ornaments that are thickly gold electroplated must then be dried. Various drying media are used, including saw dust, ground-up corn cobs, and pumice.
|
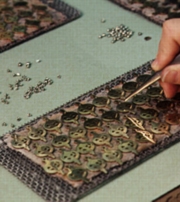 |
The pinstems and clasps are maneuvered into position by hand using tweezers, affixed by a hard solder and heated either by hand-held torch or special solder oven.
|
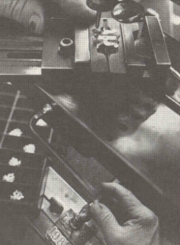 |
A pantograph machine aids the craftsman in engraving names on pins. As he follows the pattern with a stylus, a tiny drill repeats the movement on a smaller scale, etching the letters. This is usually the last step in the process. Many engraving operations are computerized today.
|
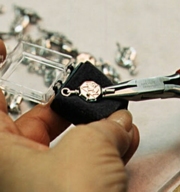 |
After several inspections, the finished product is carefully packaged in its specified jewelry box. A tool is used to keep fingerprints from marring the finished surface of the product.
|
Back to Historic Badges page